Glass balustrades are a perfect example of the mixture of functionality and aesthetics, which is visible in modern architecture today. These sleek balustrades allow property owners to frame a staircase, balcony, terrace, etc., keeping them up to safety standards with a clean, contemporary look. If you wish to add extra elements to your house to make it look more modern and classic, you should hire a specialist that provides glass balustrade installation and repair service.
If you are considering installing a glass balustrade for your property, here is a glass balustrade installation guide, the tools you will need, and, most importantly, the tips for an outstanding result.
Why Choose Glass Balustrades?
Before we discuss how you should do glass balustrade installation, it’s sensible to at least give a brief understanding of why glass balustrades have come to be such a popular choice. Glass balustrades differ from traditional wood or metal barriers, as the glass allows for unobstructed view, and creates the sense of open space. One can pair it with almost every architectural style. They give the property the look you desire without compromising the safety and sanity of the structure.
Tools and Materials You will Need
Preparation is half the battle. The basic tools and glass balustrade fittings needed for most glass balustrade installation projects are as follows:
- Spirit level & measuring tape – for the precise layout and levelling.
- Drill with multiple bits to drill different surface materials (concrete, brick, wood)
- Countersink bit
- Tightening clamps, screwdrivers & saw for any required adjustments
- Pre-cut glass panels or custom-ordered glass panels
- Clear silicone sealant to finish and weatherproof
- Depending on your chosen system, glass clamps, brackets or posts
- Protective gloves and goggles
Additional tools are necessary for installing on stairs or at an angle. For your safety, make sure your fittings are suitable for UK building regulations.
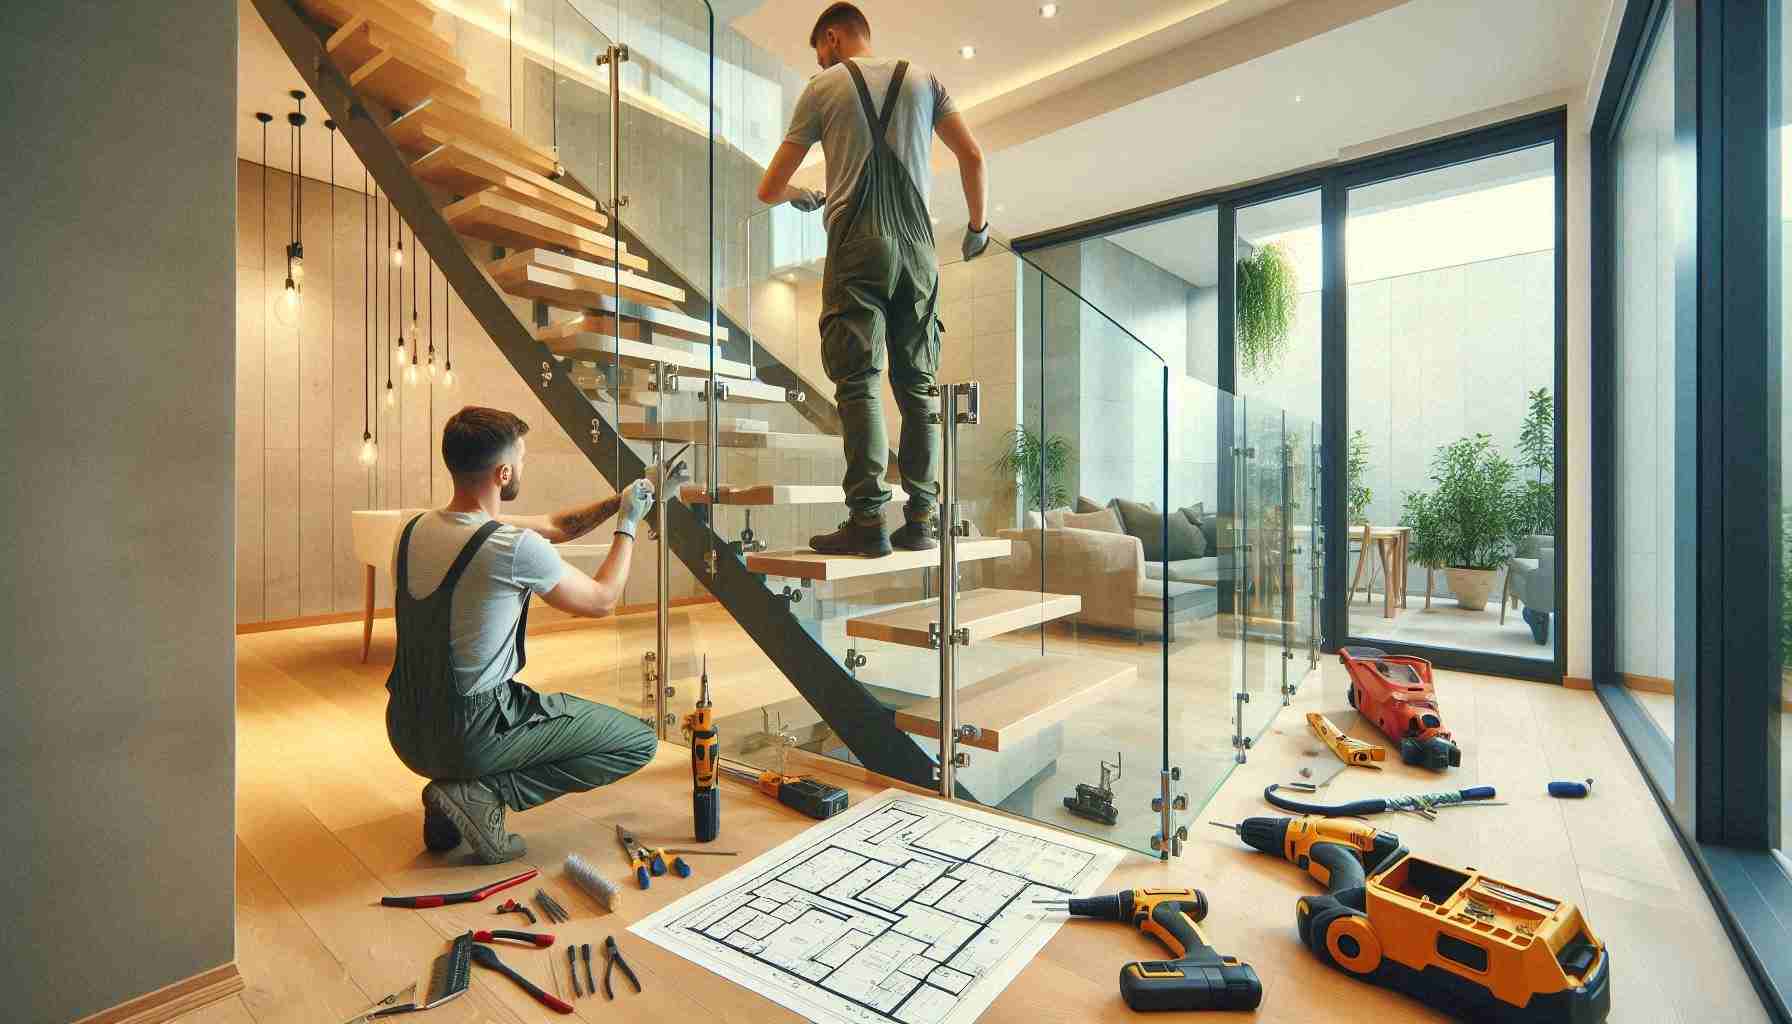
1. Plan and Measure:
Planning is the first step to every successful balustrade installation. Measure the area where the balustrade will be installed in detail. Figure out the total length, height, and number of panels needed. If for outside, consider weather exposure and slope (if there is any). A chalk line or pencil marks the places where each post or clamp will go. Uneven spacing means the whole alignment will be off.
2. Marking:
Mark your balustrade fittings; use a power drill and one of the balustrades to make other holes where you want your balustrade fittings to go. Anchors or other plugs should be used depending on your surface type. Screws may be sufficient if you are working with timber decking. Make sure you have a heavy-duty wall plug that puts a solid fix on concrete or brick.
First, fix each post or clamp loosely. This leaves you room to adjust them later when inserting the glass panels.
3. Install the glass panels:
This is the most delicate step. Gently place each glass panel between the clamps or into the slots of the balustrade fittings. Tighten the panels so that they are level both vertically and horizontally.
Tip: Always wear protective gloves while handling glass panels. Holding large or heavy panes with a second pair of hands can be much easier. Toughened glass installation & repair services are recommended while installing glass to ensure safety and precision.
4. Align and secure:
After everything has been placed into the proper position, go back and tighten every screw and bolt to avoid flimsiness while being used. Make sure everything is perfectly aligned with each other. Improper ratio can cause misalignment that will affect the strength and appearance of your balustrade.
Adjust a glass balustrade fitting system with adjustable clamps slightly to get an even finish before final tightening.
5. Seal and Finish:
Once the panels are in place, apply a very thin, clear silicone to the base and edges of the fittings. This prevents water ingress and prolongs the life of the installation. Firmly wipe away any fingerprints or smudges with a glass-safe cleaner. The result is a pristine and polished look.
Maintenance Tips
The ease of upkeep is one of the benefits of installing glass balustrades. The best you can do is to preserve the beauty in the following ways:
- Every few months, do a check of the fittings for loosening.
- If sealant is used outdoors, it should be reapplied annually to prevent leaks.
- Clean it with a glass cleaner and a microfiber cloth.
If you are sceptical about the DIY pathway or wish to work with a professional to achieve an impeccable result, take a step towards contacting experts. The specialists provide glass balustrade installation & repair services for homes and commercial properties. They take care of everything from measurements and fittings to polishing. For urgent issues like breakage, emergency glass repair, sash window repair or any emergency glazing services, available to quickly restore safety and function.
Conclusion:
Though it might seem like an undertaking for professionals, installing glass balustrades can be completed as a DIY project with the right tools, planning and precautions in place. Besides being safe, these installations contribute a sleek, contemporary look to any place. Whatever space you are enhancing, glass balustrade installation is an investment in two elements: style and structure. All Glazing UK can be contacted for lasting results and reliable service.


